|
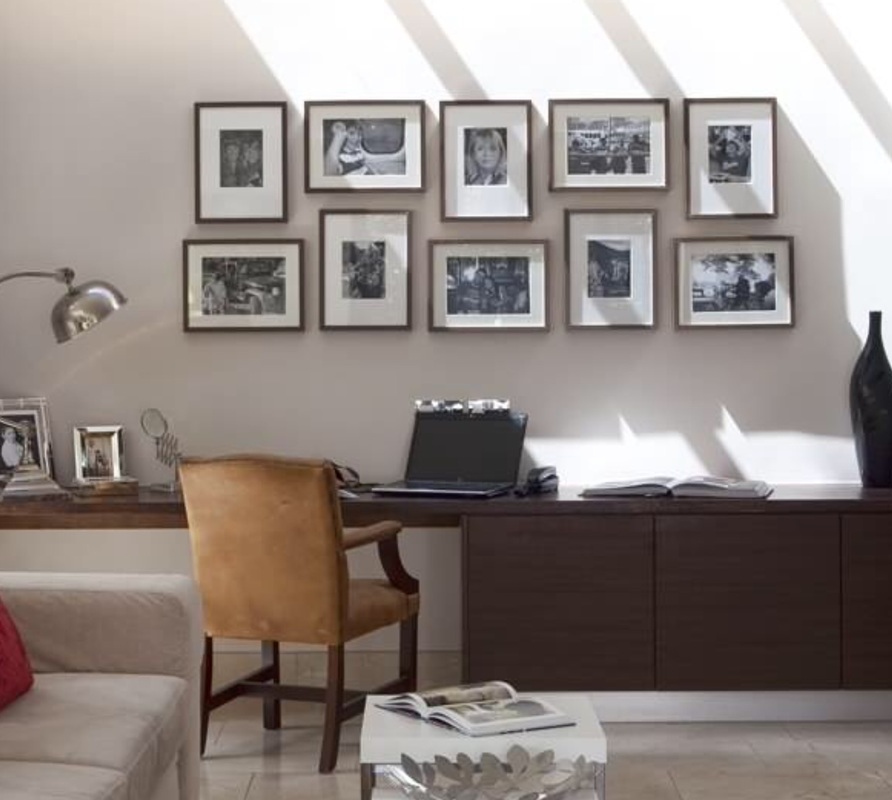
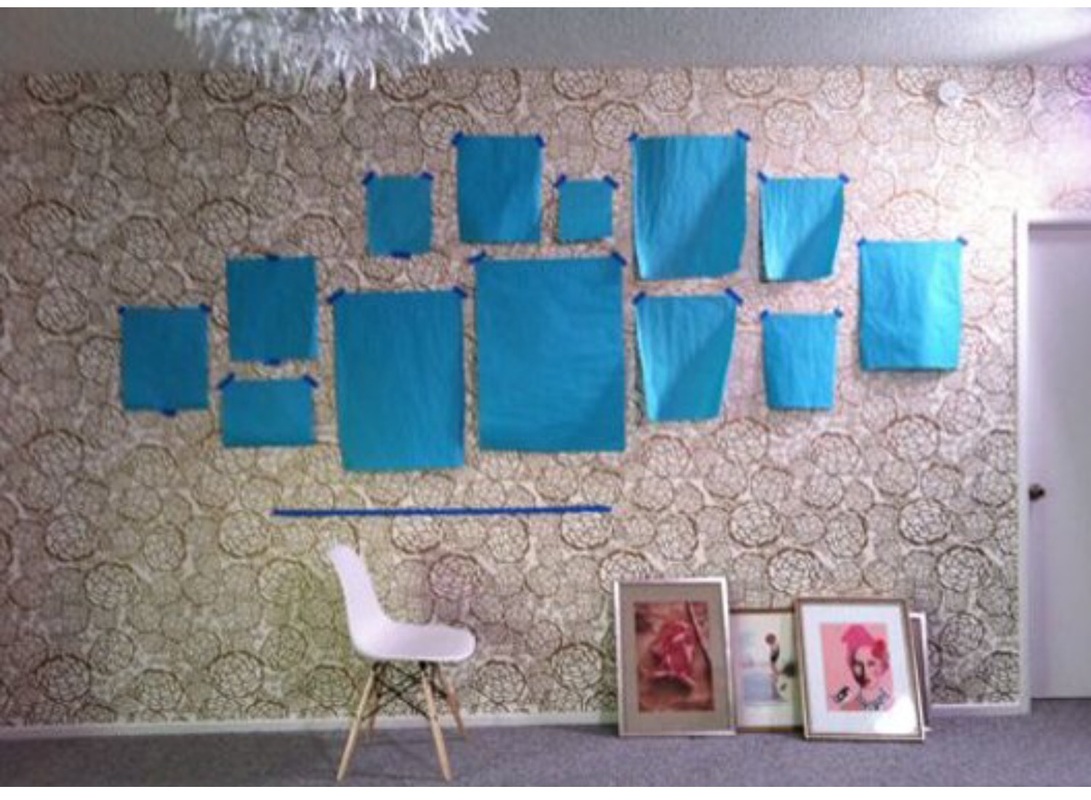
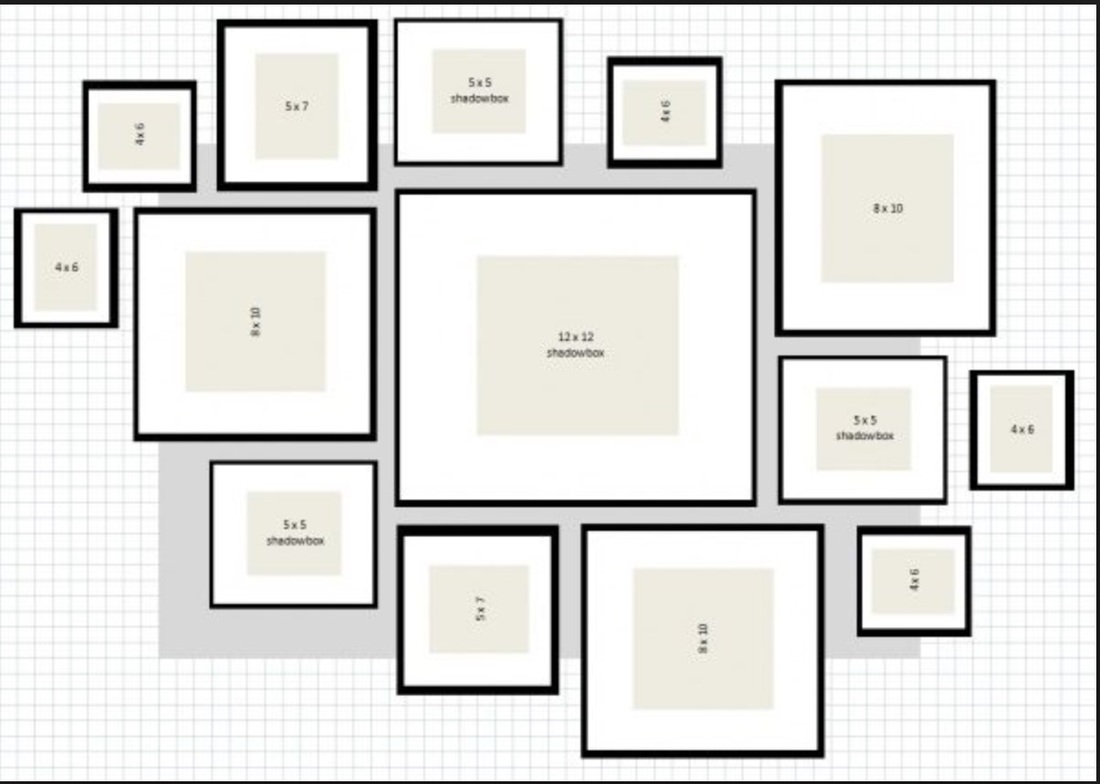
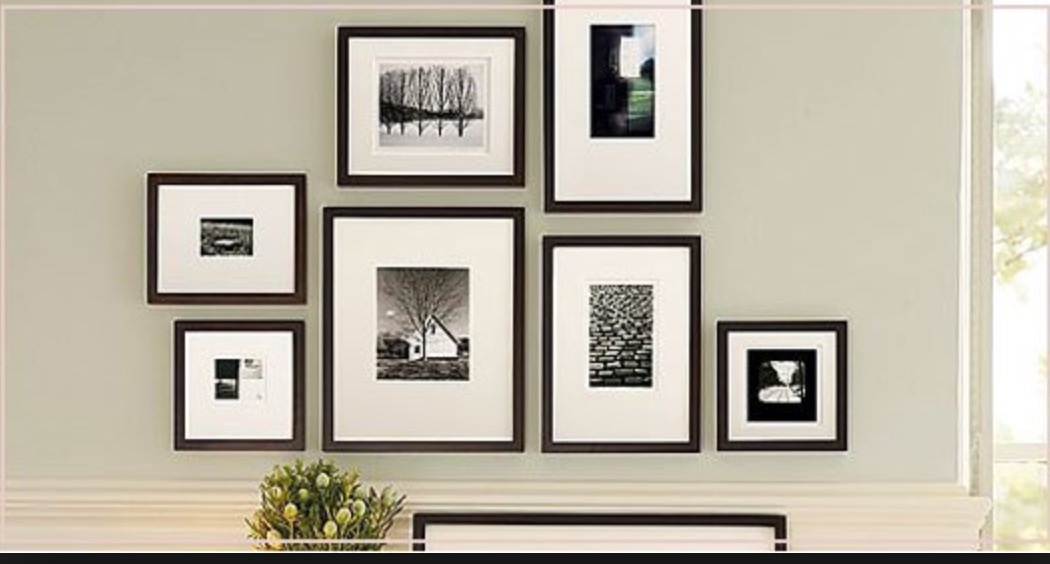
Hello everyone , Hello November, Hello January , Did I miss something? Oh don't worry we will all be reminded several times a day with supermarket music of the special month ahead. As it happens I have a few tips to get at least one job that gets put on the long finger sorted.Lets face it, we all mean to gather our favourite pictures and get frames but we don't all get around to actually doing it. Here are a few tips to get you started but first let me share a little joke. Getting started First of all I would recommend that you collect the frames first . Decide where you want to put them , choose a colour scheme eg. all one colour or a mix / all the same shape or mixed. Once you have frames that you like you can decide what images to use & get them printed in the appropriate size. Then to arrange them. How to do that? Well let me show you. There are some rules even with mixed colours and sizes to arranging frames so here are some images to help you. To create this look choose two frame sizes . Mark a straight line at eye level or just above and hang frames from that line. Keep equal distances between frames. Start at the centre and work to one side & then do the other side. For the bottom row mark a bottom line and just make sure there is the same distance between frames and that they are not to close. Alternate the frames as shown and again I recommend you start at the centre This method requires more patience than most of us could manage but if you are very unsure it may be worth a try. Personally when using lots of different sizes I would do this a little differently. I would create little sub groups. eg the three on the right are group 1 , the next 2 are group 2 and the next three are group 3 . These have equal distances between them. Now the section in the middle has three frames but I would have put the top two more to the right. To the left then there are three more groups , or two and a single. Again my preference would be to keep the lower rows three central frames on the same line and work from there. I would have no hair left if I did it this way. An alternative would be to lay them out on the floor to decide and have a glass of wine. Here is a good example of breaking the gallery in to sections,its like the clouds really . What can you see here? I see three distinct groups. a central, middle and right. As before gather you frames, start at the centre and build in blocks . The key again ... equal gaps between frames . Can you see the three groups here. Is it getting easier to grasp the concept? Well just as you are getting to grips with this concept Im going to throw a spanner in the works. If you prefer to use different types of frames there are still a few rules. Juggle them about and see what you come up with. Here the rule was to anchor the corners with similar rectangular frames & fill in the gaps. Your personal selection of frames will require its own set of rules . You decide where to anchor your gallery. eg If you had one larger frame you could arrange lots of smaller ones around it. The options are endless.
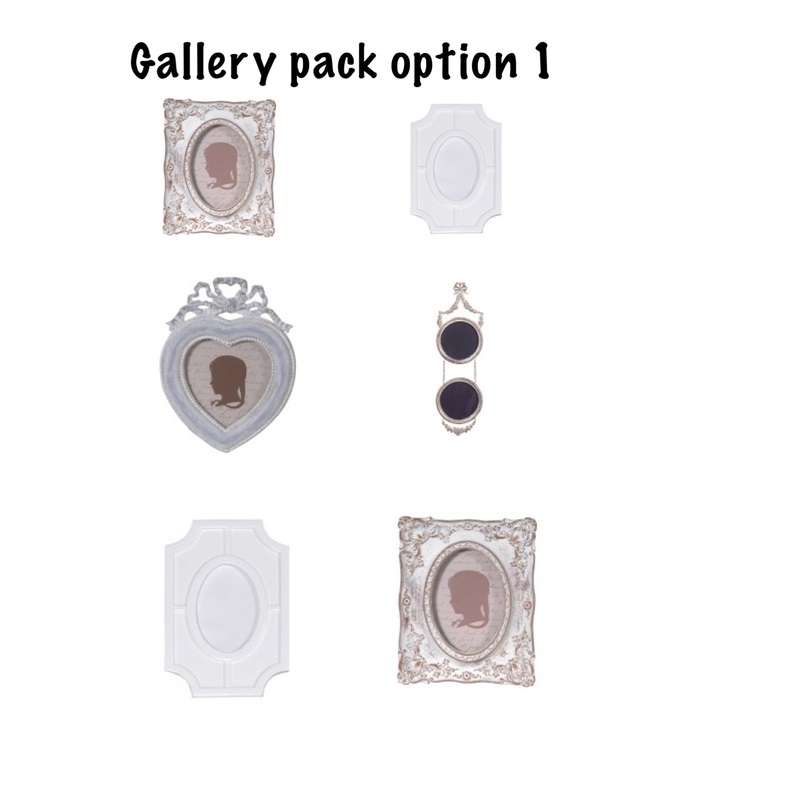
To hang frames all you need is a hammer, picture hooks, a level , sticky pads, velcro or gel spots to keep the bottom of the frames in position, and of course an extra helping of patience. We have creted 6 pre- arranged groups of frames. Starting at €35 they may be just what you need. Have a look here Have fun and share your gallerys with us. We might even send a little surprise to the best one . Happy November everyone. Paula x |
.
Welcome to our interiors & lifestyle blog. We'll be posting regular articles about cutting edge trends in interior design, as well as some descriptions of work we've just done. Most of the posts are from me but we will have guest posts too. We will talk about my house and yours and tell you what we are wild about at the moment. There will be plenty of hints & tips & a bit of fun stuff too. Thank you for following our blog. You did, didnt you ? Paula x Blogging about all things interiors & moreCategories
All
|



 RSS Feed


